In Reporting part 1, we talked about export settings for individual images, maps and spectra. In this post, we will be looking at the batch exporting of multiple images and X-ray maps. This saves time if you have lots of images to extract from an AZtecLive project for use elsewhere, like a presentation or for data processing in an external program.
Let’s take a look at a couple of examples:
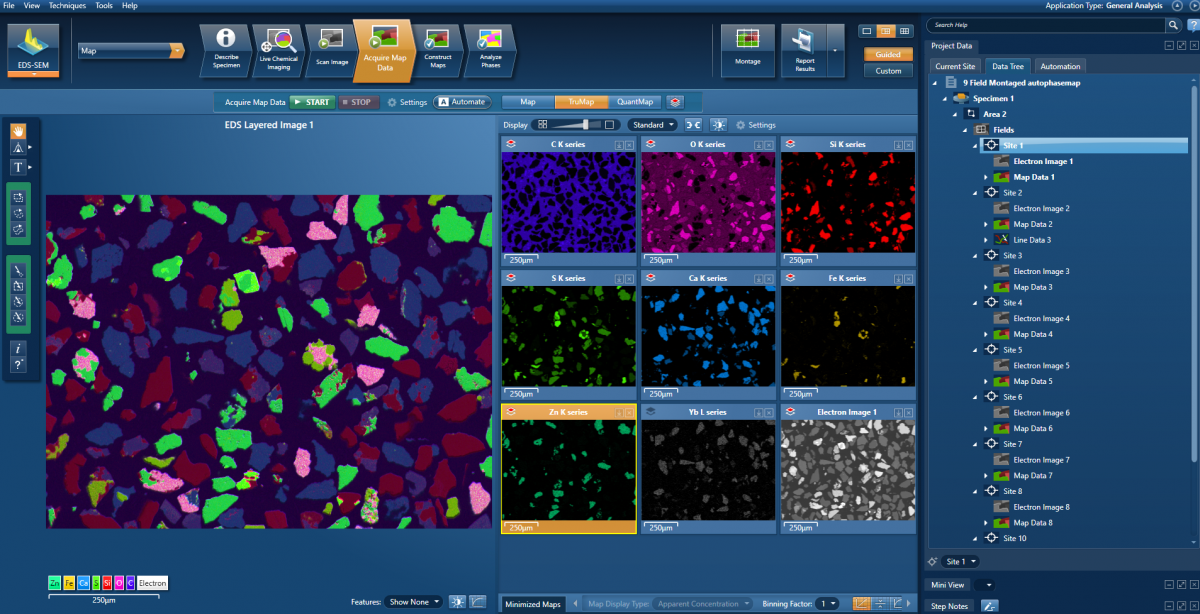
Multiple sites containing electron images to be exported as images

The first step is to select all the sites from which you want to extract your images. An easy way to do this is holding the shift key and selecting the first of the sites that you want to include. Then, while still holding the shift key, select the last site. If you want to select a subset of sites, simply hold the Ctrl key and select each individual site, one by one (this is normal Windows file selection behaviour). Once selected, with the mouse, right click on any of the selected sites to bring up a dialogue panel.
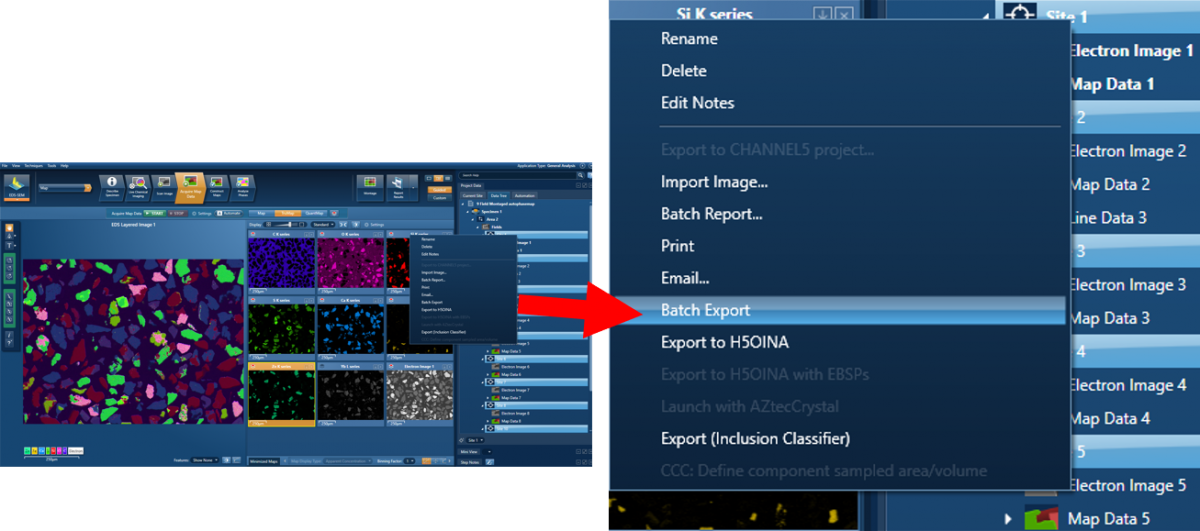
From the panel, select Batch Export, which will then bring up the batch export dialogue box
This dialogue panel lets you choose:
- What type of images you want to extract (Electron, EDS Maps or EBSD Maps).
- Which Sites you want to extract from
- what format you want to save the images as
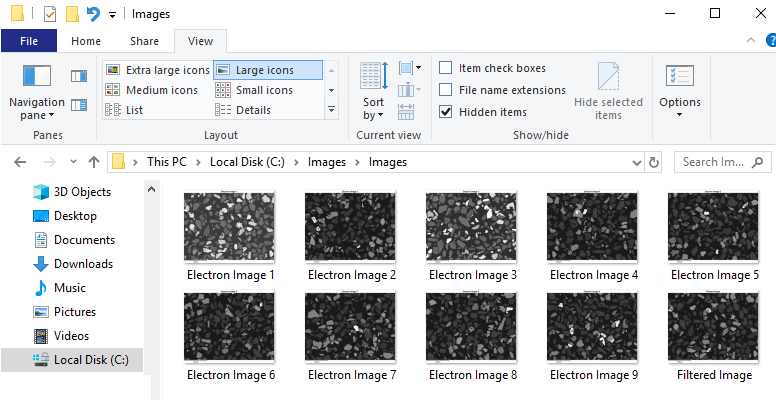
In this example, you want to select images, from all sites saved with a .png extension. Next chose the folder you want to export them to. If you tick the Use Image Export Settings box, this will use predefined image settings for the export, described in Part 1 of this series.
Once you’ve chosen the export folder, press start and watch the progression. When finished, there will be a message box telling you how many images were saved. Now when you look in the export folder, you will see all the electron images you requested.

Exporting individual element maps into separate element folders
To export individual element maps, bring up the export dialogue box again. This time, select the EDS Maps option, and then choose how you want to export the maps. AZtecLive allows you to export maps in various image formats, but also allows you to export the raw SmartMap data so that they can be processed in an external program.
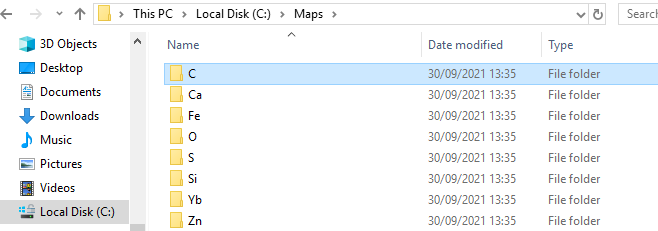
You also have the choice to export the maps into site folders or element folders. So, in this case, you will select PNG and the Create Element Folder options. Then, as before, select which sites you want to export from and where you want them to be exported to.
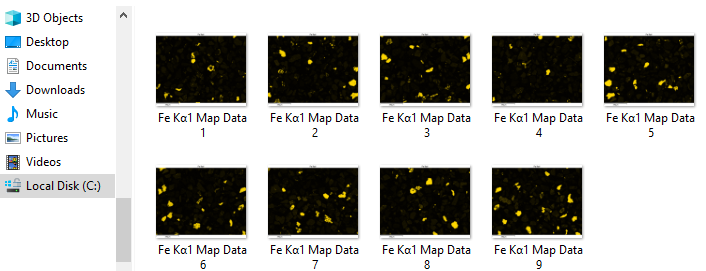
After the export is complete, you will see that element folders have been created in your destination folder. If you look in the Fe folder, you will see the Iron (Fe) maps from all the sites.
You can even perform both the image and map exports described above at the same time.
This post is the second in an ongoing series designed to educate on how to best export data from AZtec. We will look at more exporting examples in the coming posts. To be notified as each post is released, join our mailing list today.