23rd June 2021 | Author: Anthony Hyde
Exporting data from AZtec effectively
When you think of data export, you normally think of tables and numbers being transferred as a discrete file from one software package to another for interrogation. With AZtec, data export can mean a lot more. It can be the export of images in many formats (png, bmp, jpeg or tif). It can be the export of Raw SmartMap data or EMSA files for spectra.
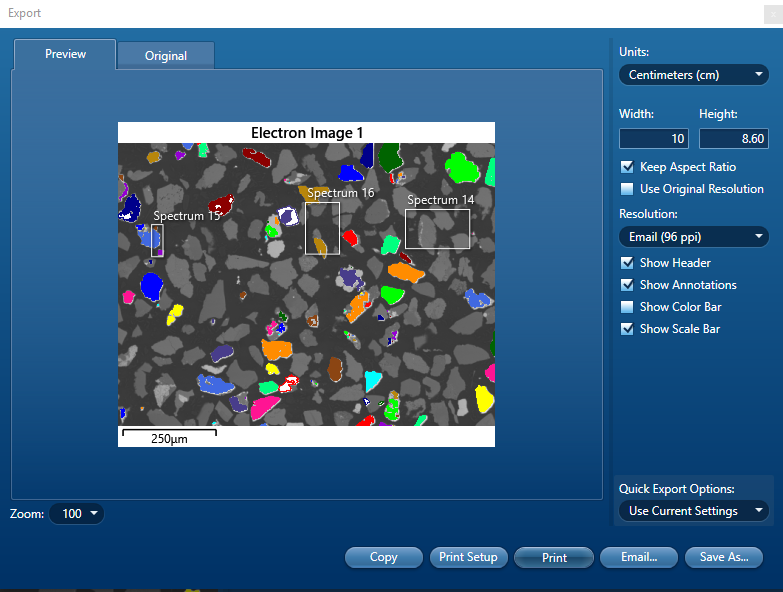
The Export Settings Panel is where you can control all your exporting settings. This Settings Panel is accessed via a right mouse-click on an electron image, X-Ray map, spectrum or Linescan:
Depending on whether you access this panel via an image or spectrum, you may see slightly different options. In this post, I would like to concentrate on the export of images files.
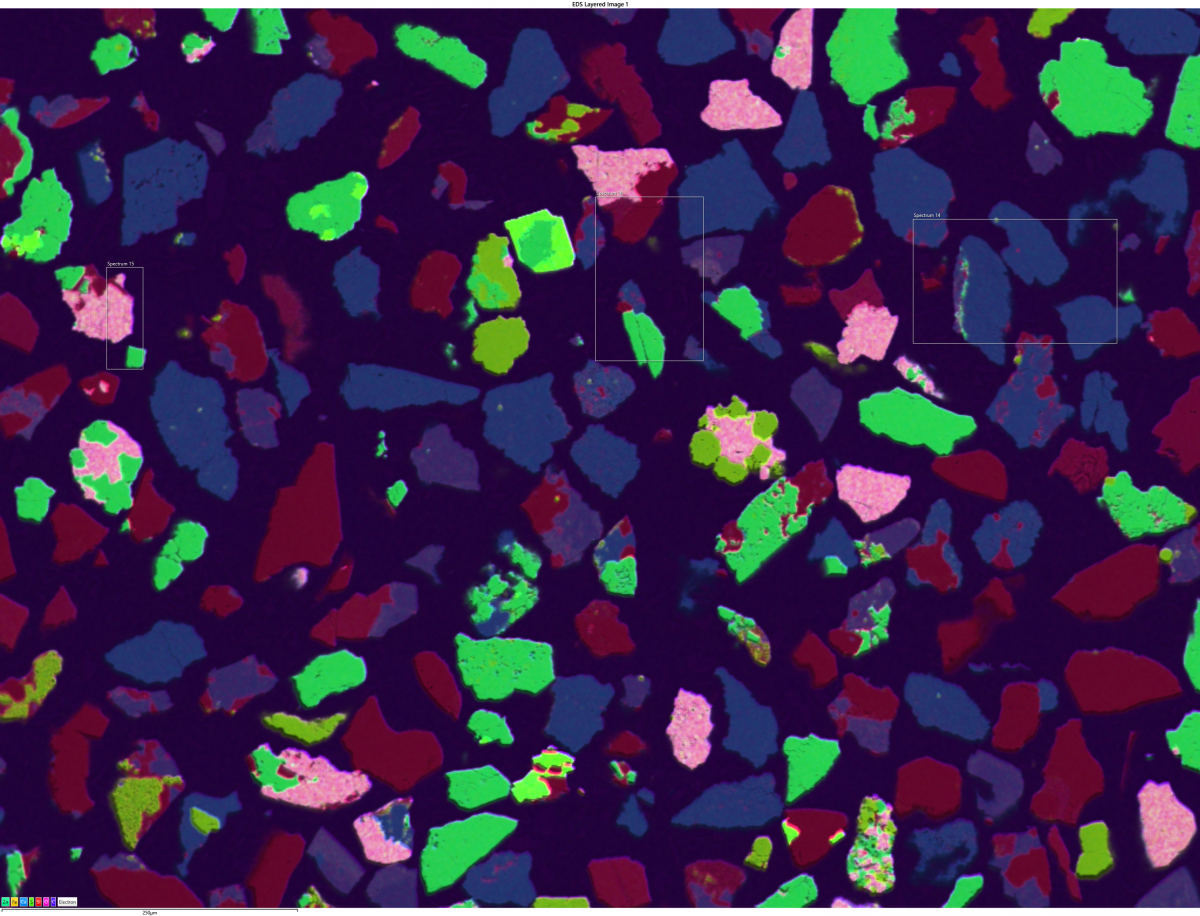
These images could be SEM images, X-Ray maps, spectra or linescans. They can be exported for many purposes, such as inclusion in a Word document, PowerPoint, publication or a poster. It’s important to understand that one image export may not be suitable for all of these purposes.
For example, if you want to copy an image from the AZtec interface and paste it into a Word Document, then it is likely only going to be between 5-10cm wide. Here an exact copy of what you see in the interface will be fine to paste into your document. If, however you took that same image and enlarged it to be used as a poster, then there would be a couple of issues:
- the resolution of the image would probably be too low and look pixelated.
- any annotation and legends on the image would be far too big in relation to the size of the poster.
The opposite would be true for images that were exported so that the resolution and annotation were ideal for a poster. If you took that image and pasted it into a Word document, then the annotation would be very small and probably unreadable. The extra image resolution would be wasted, as it is only ever going to be viewed on a monitor or a sheet of paper.
Export for a Word Doc
Export for a Poster

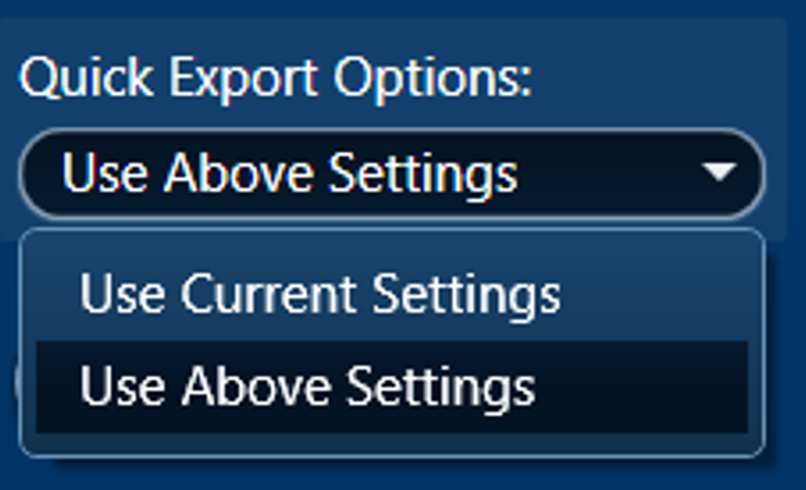
The main setting that dictates how images are copied from AZtec, is called ‘Quick Export Options’ in the bottom right-hand side of the panel. If you just want to copy what you see in the AZtec Interface, then make sure ‘Use Current Settings’ is selected. Now when you ‘right click’ on an image and copy, you can be sure that when you paste into your document, you will indeed get what you see in the AZtec interface.
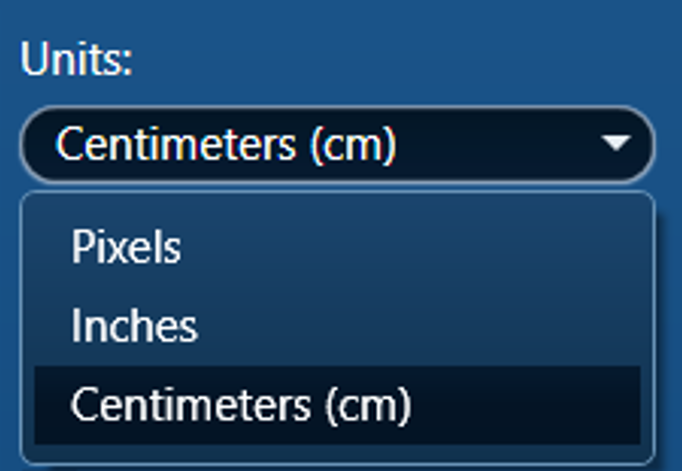
If, however you want a particular image quality with specific dimensions and labels, then you need to select ‘Use Above Settings’. This opens a whole set of options and capabilities to your image export. In this settings panel, you can choose how big you want your exported image to be (as we discussed earlier), either in physical dimensions (cm or inches) or in pixel dimensions.
This setting is crucial for making the image fit for purpose; if you want an image for a word document, then choose smaller dimensions such as 5-10cm. If you want poster size, then choose 60cm+ (depending on the size of the poster of course). This will not only ensure that the resolution of your image is correct, but also that the relative size of any annotation or labels are appropriate.
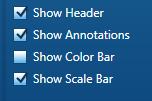
The whole point of this facility is that you may have different requirements of an image you see in the AZtec interface and the image you want to export. So in the interface you may want to see the header, annotation and scalebar, but when you export you may only want the scale bar. In addition to settings to control what annotation and labels are exported with your image, you can also choose the quality of the output like you can do with printers. This dramatically affects the size of the file that is created.
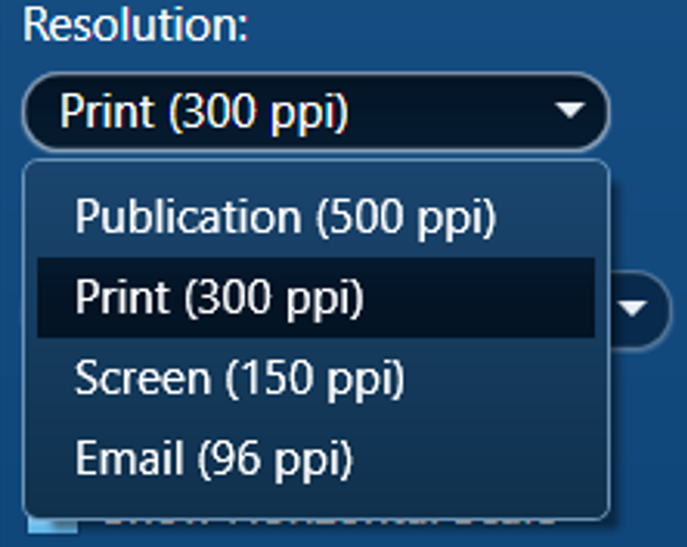
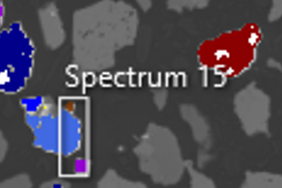
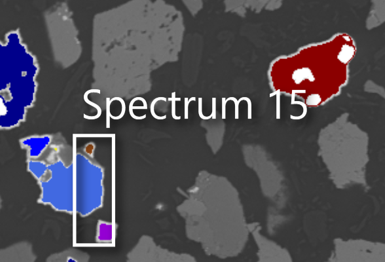
Choose the 96 ppi option (left) for a low resolution that can easily be emailed, , and if you want a high-quality image for a publication or brochure, choose the 500 ppi option (right).
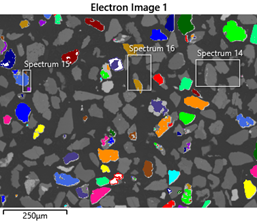
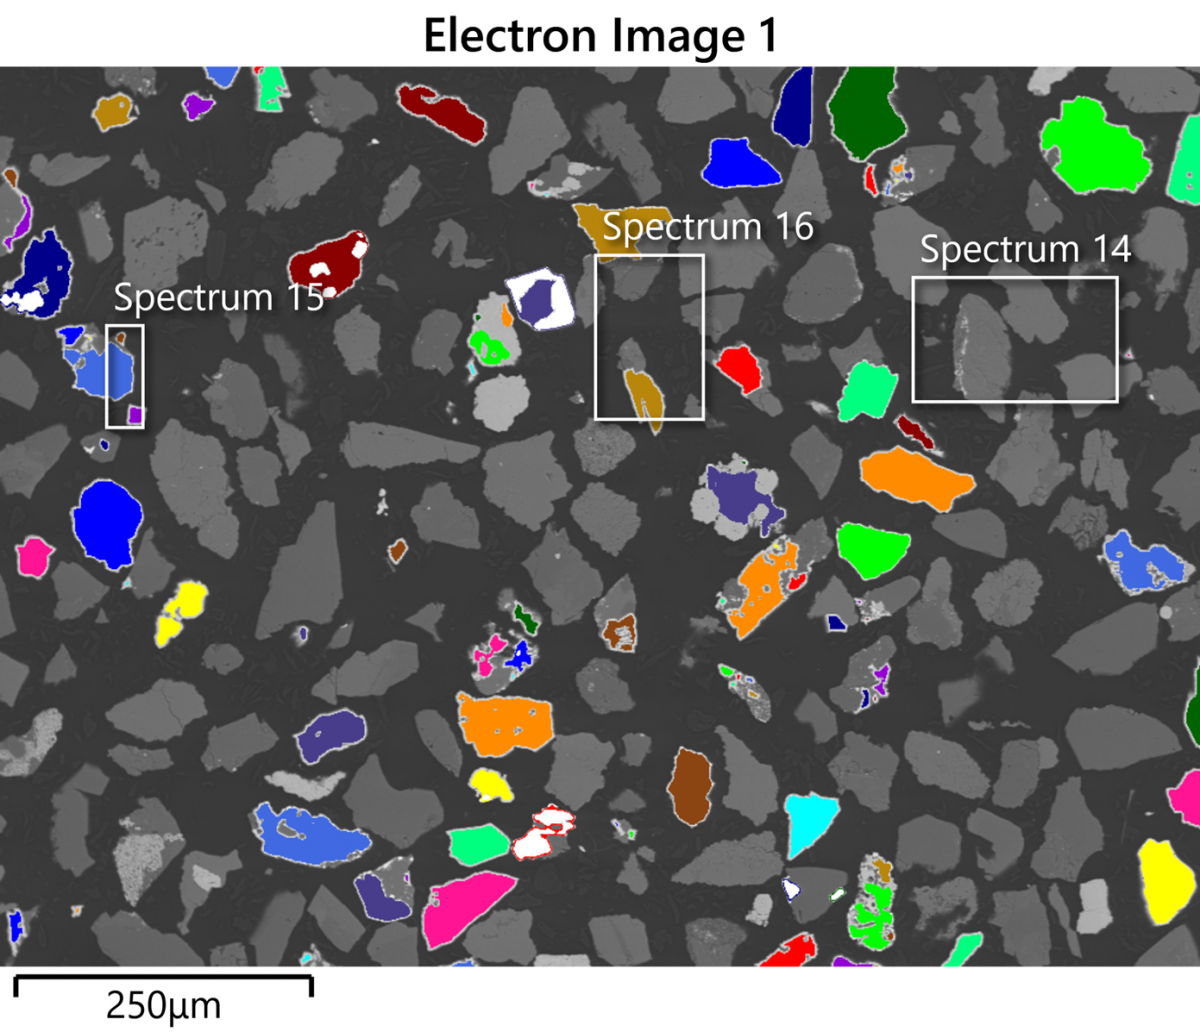
You can’t really see the differences online unless you zoom into a particular region. Below you can see that the 500 ppi image has much more detail than the 96 ppi image.
AZtec allows you to get the most out of your data, both in the software and outside of it. Image exports are only one aspect of data interrogation. I will be following up on this post with information on the other data types mentioned at the beginning of this post. To learn more about the exporting of raw SmartMap data and EMSA files for spectra, join our mailing list today.